How to Wrap your Raffle Basket
Now that you have your Raffle Basket ready for donation, it’s time to wrap things up! With a few simple tools and some creative ideas, you can make your raffle basket look like a pro! Before you get started, you’ll need to gather a few basic supplies.
You will need:
- Your basket (or other container)
- Some CLEAR cellophane wrap, shrink wrap or a clear gift basket bag. You can find these items at your local craft or party supply store or from many retailers online.
- Basket filler, crinkle paper, or tissue paper
- Tape (sticky dots are helpful too)
- Ribbon or twine
- Scissors
- Any extra embellishments or decorative items to add a special touch
How to wrap up a basket in a few easy steps
1. Choose Your Basket
Choosing a basket is part of the fun since it becomes part of the gift! But it’s also an important step because it has to hold all of your items!
Think about what kind of items you plan on filling your basket with. Do you need something sturdy and durable to hold heavier items? Maybe a metal bucket, cloth basket, toolbox or cooler would better suit your needs. Try a large mixing bowl for a “Baking Up Fun” basket or a popcorn bowl for a “Movie Night” basket. Consider something that fits within your theme and see if you can use it as your basket!
More tips for thinking outside of the basket >>
2. Create the Base
To make your gift basket look nice and full, fill the bottom of the basket with crinkle paper, basket filler or tissue paper. This will add a little extra padding and support to the items you will be tucking inside.
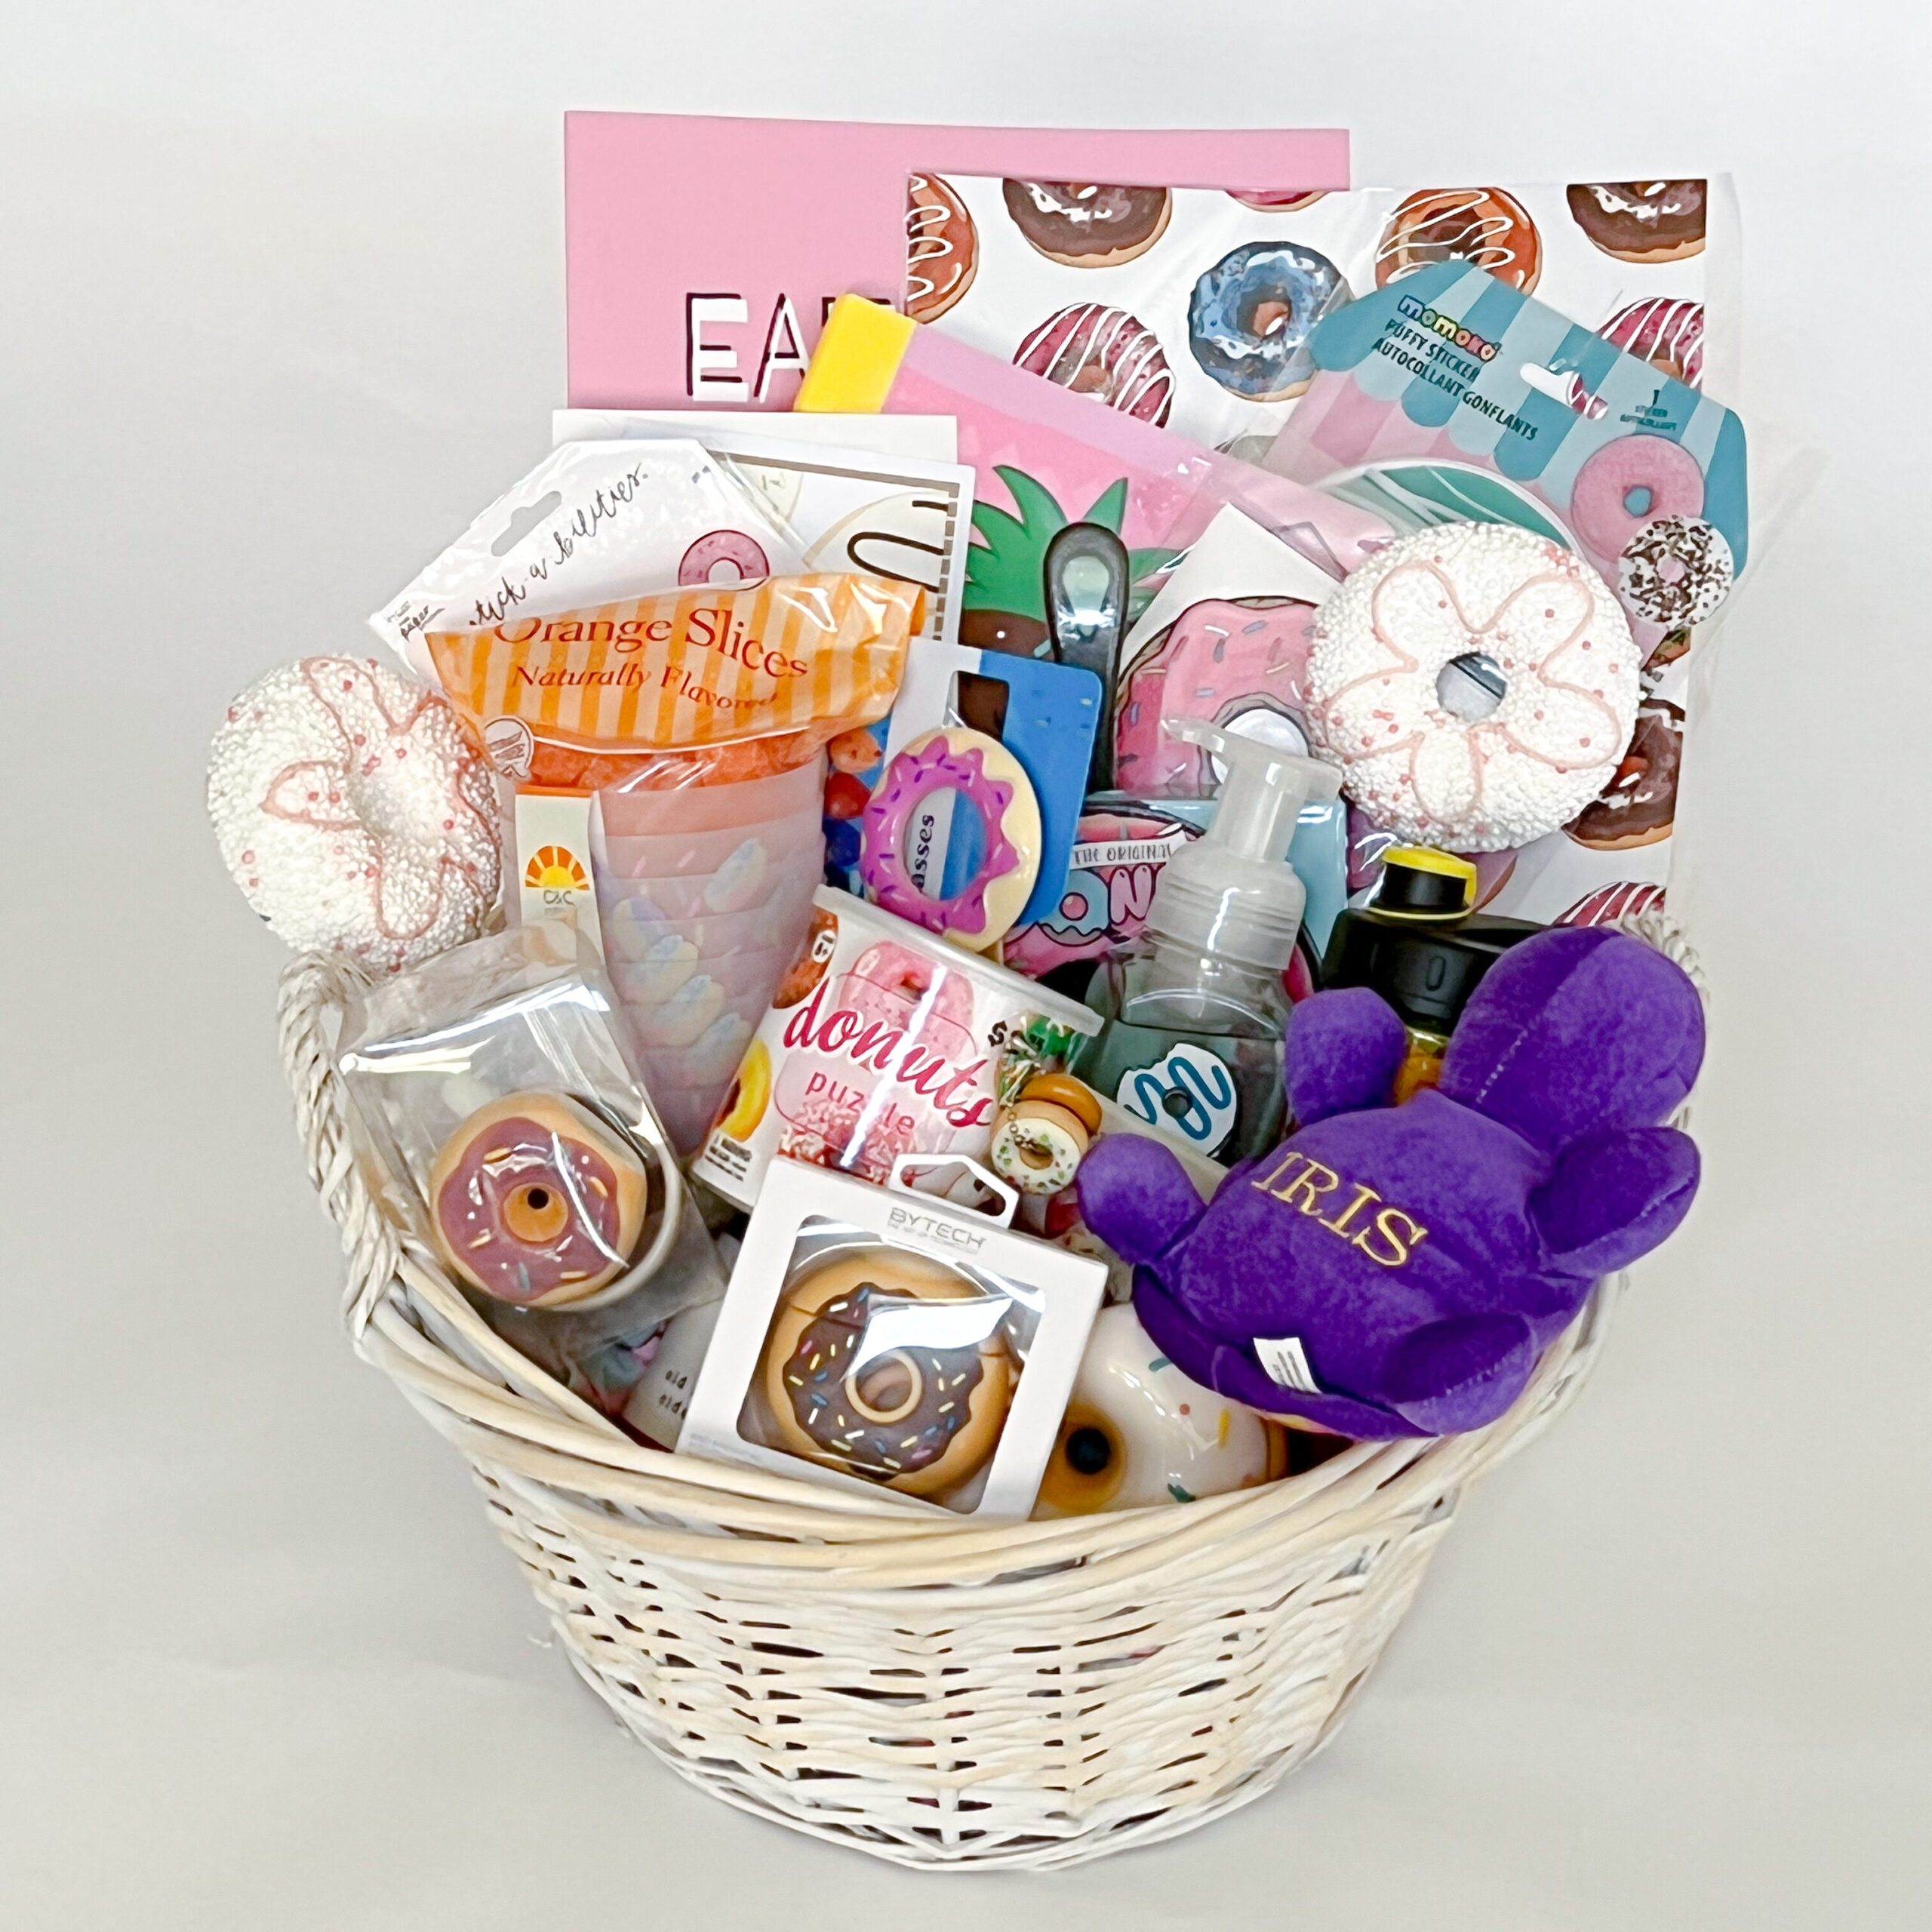
3. Fill It Up
Next, arrange the items inside the basket. Larger, heavier items in the back or bottom of the basket and smaller, lighter items towards the front or on top. Try to mix your objects so that nothing slides or sticks together, the weight is distributed evenly and all items are visible. A variety of shapes and sizes of objects will create a more interesting look. Add extra tissue paper as needed to fill in any empty spots or prop up any items so they can be seen.
4. Secure the Items
Once you have all of your items arranged neatly in your basket, you want to make sure they stay that way! Baskets are handled and moved multiple times before the event and you don’t want any items falling out of or sliding down out of sight during transport. After you are pleased with your arrangement, use tape or sticky dots to secure items in place by sticking them to the sides of your basket and to each other.
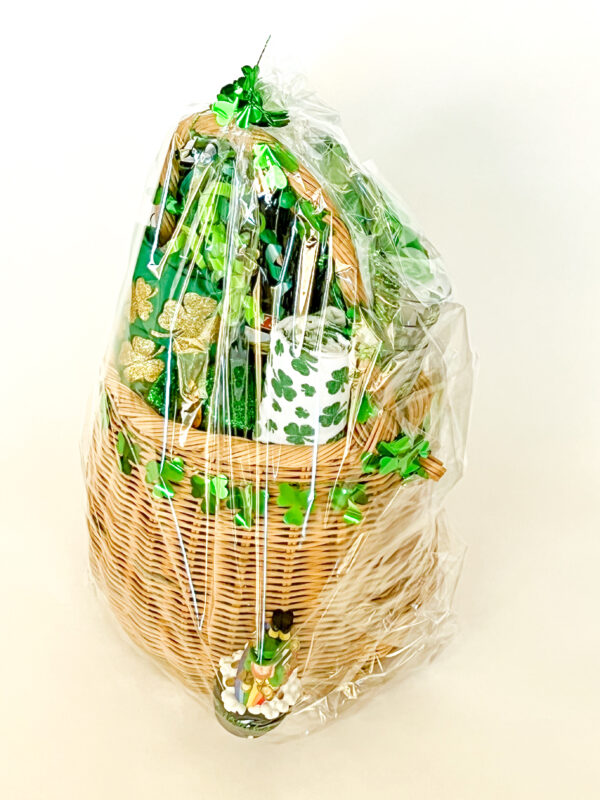
5. Wrap It in Cellophane
Grab a roll of cellophane and place it on a clean, flat surface. Place your gift basket in the middle, then bring up the two sides of the cellophane around it to gauge how large a piece you need to cut. Be sure to cut a little extra so that you have enough room at the top to add a bow or ribbon.
Wrap the cellophane around the basket, and tape it to itself and taping the wrap to itself where the seems meet, overlapping slightly. Scrunch the excess wrap up in the center at the top of the basket, then secure it with a ribbon or twist tie.
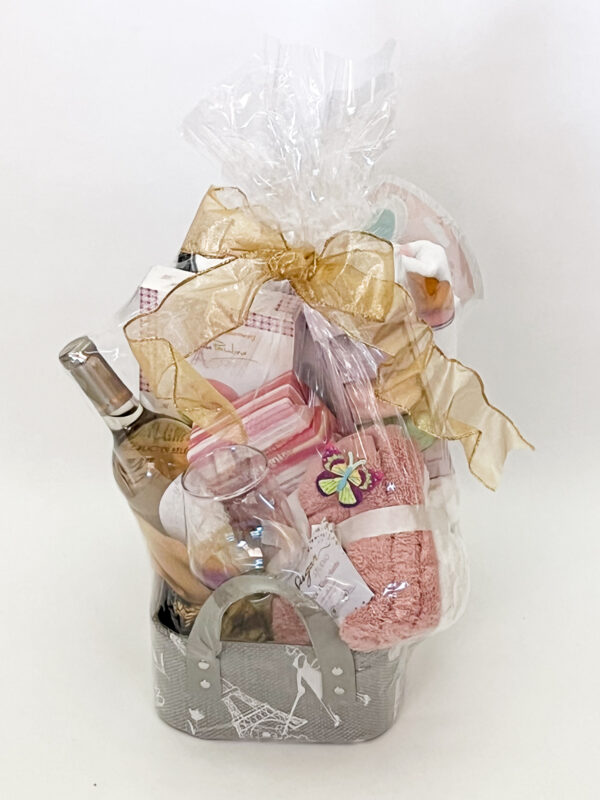
6. Finishing Touches
Once the basket is wrapped up, you can add the finishing touches. Tie a festive bow or pretty ribbon around the top for a decorative touch. Add decorations, little tags or any other embellishments that fit your theme to make your basket look extra special.
And there you have it! Your raffle basket is ready for donation! Don’t forget to fill out your Basket Info Sheet!